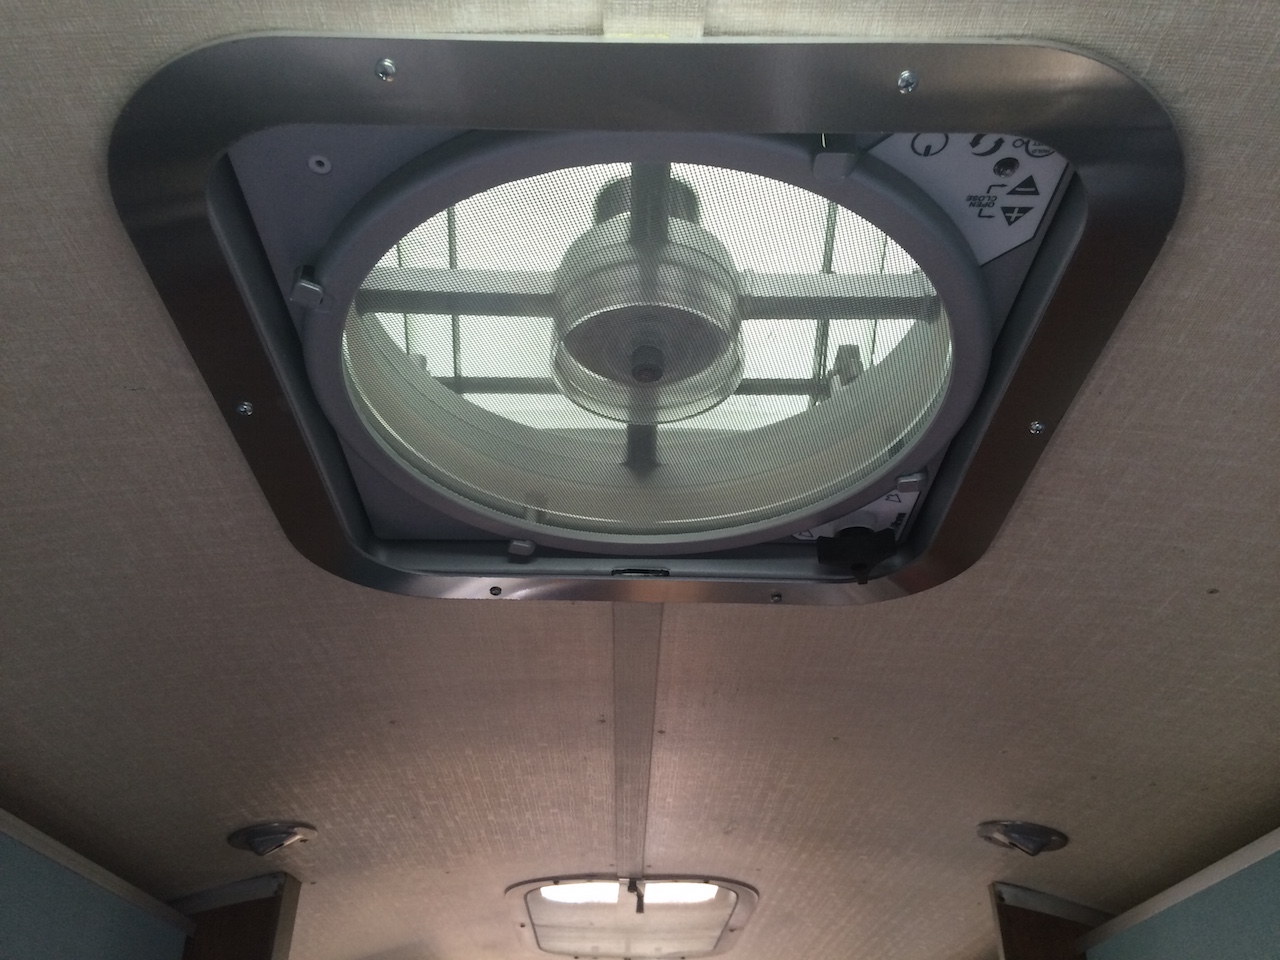
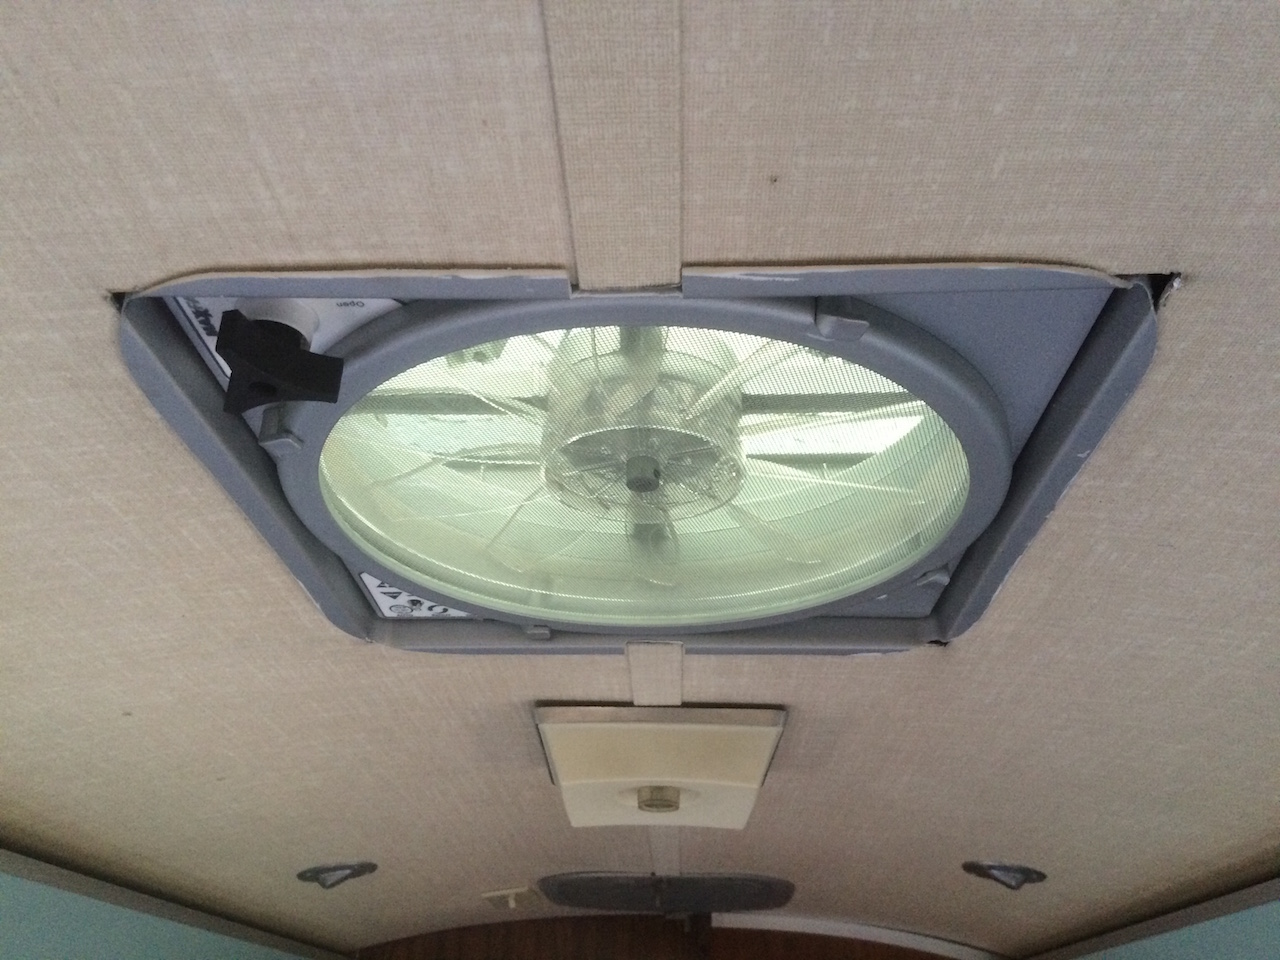
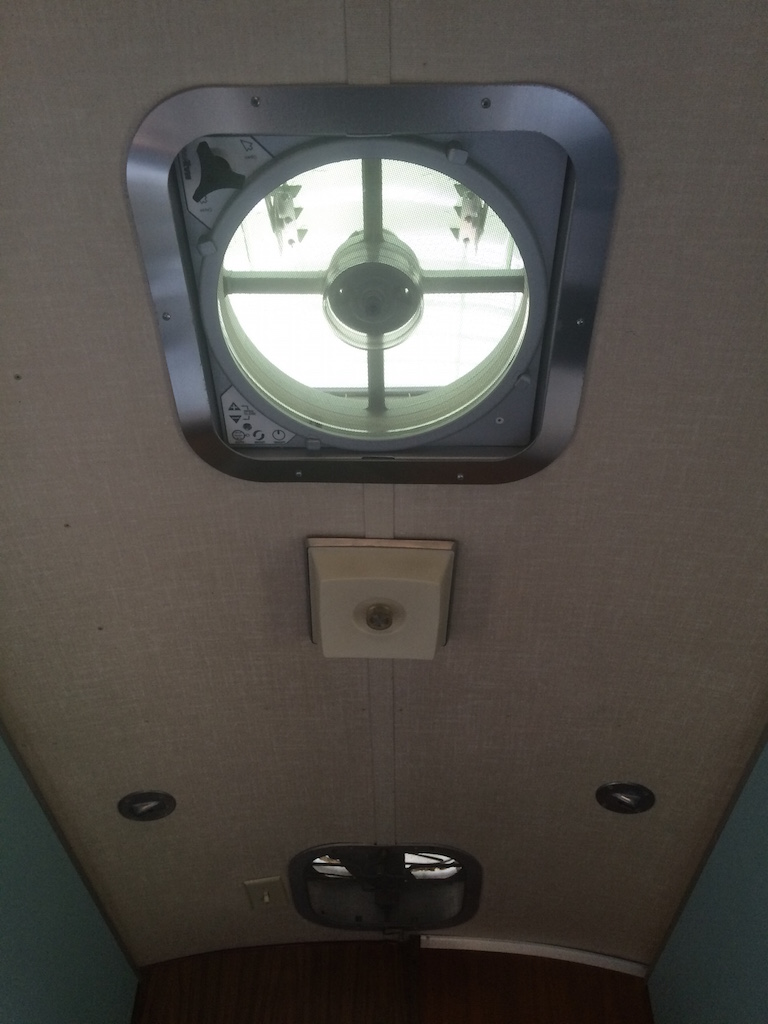
Here's an aluminium internal frame in the style of the late 60's-70's Airstream aluminium vent frames made DIY specially for a MaxxFan Deluxe.
The dimensions are not identical to the original Airstream vent frames. It is a trade off between getting a square to fit behind a square with rounded corners, plus the MaxxFan is larger than the old vents. But the optic satisfies me and helps to integrate the new fan more respectfully into the old trailer.
 Background:
This is a follow up of my thread about cutting a new hole for a Maxfan in a '68 instead of replacing an existing original vent:
http://www.airforums.com/forums/f44/...ng-153735.html
Painting the Maxx Fan
In order to get the Maxxfan to visually blend into the
1968 Airstream, I sprayed it inside and out with CODU TEC cleaner and primer + RAL 9006 white alumium. I masked off the control panels and sensor.
The Vent Frame:
The new interior frame is consists of two laser cut alumium pieces, with identical outer dimensions, which lie on top of each other.
The inner one A2 functions a) as the cutting template for the outer edge of the standard Maxxair inner shroud and b) it hides the newly cut edge of the Maxxair plastic shroud.
The outer frame A1 is the one that is visible inside the Airstream and holds the Maxxair shroud and A2 in place.
 Things learnt along the way:
1. Frame widths: I made the outer A1 35mm wide and the inner A2 20mm wide. The 20mm is too wide and ate into the corners of the Maxair shroud slightly. So in the attached drawings I have reduced it to 12mm wide. I have not tested that.
2. You have to be confident about cutting into your MaxxFan inner shroud. There is no way back. Wear eye protection; it is only plastic but it flies everywhere. I cut outside of my guide lines and filed/sanded up to them. Getting the curves to sit snug inside Frame A2 requires close attention.
3. I made a slot in the Maxxair shroud to recess-in the Airstream cieling central profile. If I was doing this again, I would trim the central profile at the edge of the new alumium frame.
The Drawings
I am happy with the result and provide the drawings here for anyone else to try out. The enclosed drawings are PDF files and should be to scale when printed onto an A1 sheet.
Your laser cutter will actually need DWG files which the forum will not accept to upload even as a ZIP file. Shoot me a PM if you would like the DWG files.
Have fun and don't cut your fingers off, tony


 Linear Mode


