


DIY 4" lift kit.
This took me about 5 hours longer than I thought it would. After tons of research and no luck finding anyone willing to post up their lift kit, I decided to build my own. I have metal fabrication skills from HS metal shop, and a willingness to jump in.
The answer to 99% of the questions about getting more ride height is "buy new axles". Dexter won't rebuild them (wisely) and there's a 200% mark-up by the time they get to retail. This would be a $1600 proposition (that's doing it yourself) and then discard perfectly good axles.
Mine are 17yrs old, and have about 80% of life left in them. They're supposed to drop 2.34 inches from full load to in the air according to the Dexter website. And mine drop about 1.88" in the air. Not quite at replacement, and not worth throwing away.
After looking under the coach for a long time, I decided that square (rectangular) metal tubing would work great as blocks between the axle mounts and the frame of the airstream.

I needed 4 blocks, 11" long and 4x2. I decided to over do it with 1/4" wall tubing, but I think it's the perfect thickness. All the metal around the axles is 1/8th and 3/16ths.
I spent $26 on a 4 foot length of 4 x 2 x .25 and $36 on 5/8ths Grade 8 bolts/nuts/washers. About $60 total, and 8hrs of my time- in the middle of the night alone.
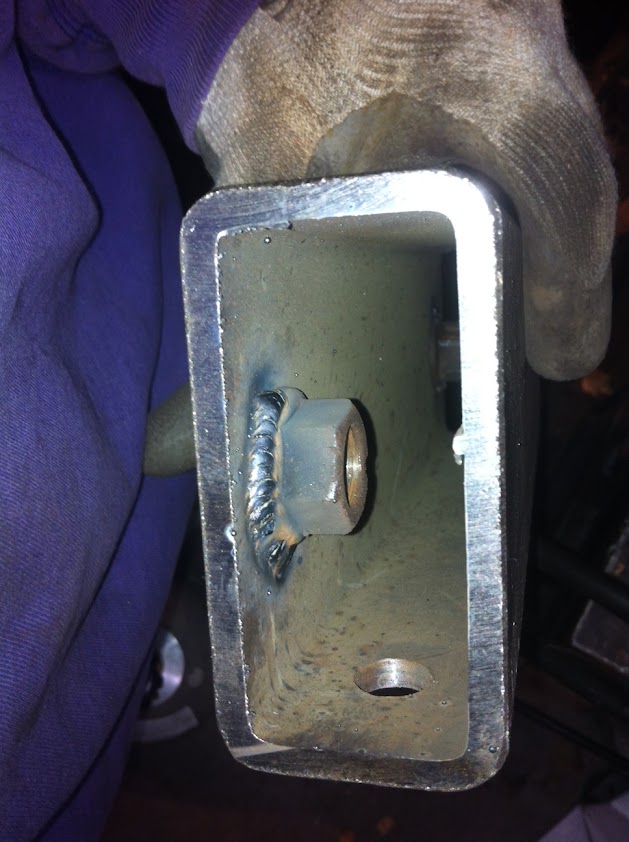
I thought I was thinking ahead by welding in some captive nuts to the inside of the block. Because once these are in place, there's no way to get a wrench on the inside of the frame. What I didn't plan for is that now I can't get the bolts into the bottom holes to go to the axles.
Do Over.
Then I realized that torquing these 5/8ths Grade 8 fine thread bolts to 150 ft/lbs is hard to do when you can't get a wrench on the bolt inside the tube.
I ended up welding the bolts down to the axle, and the nuts going to the frame before I tried to assemble it.
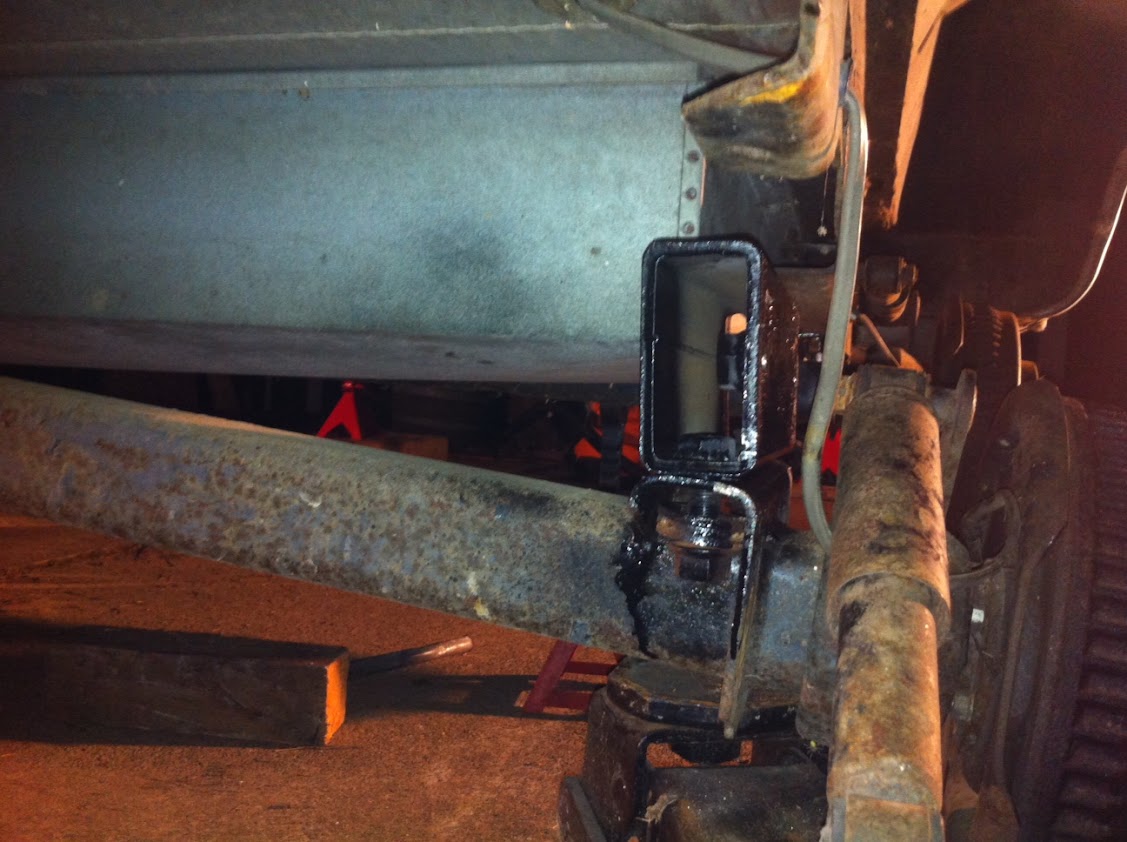
This picture is hard to see what's going on, but it was a pain to get everything aligned, and mating up. Plus the axles are kind of heavy. You really need a friend or 3 floor jacks to do it right.
TIP if you're going to do this: Only undo one side of the axle at a time. This keeps it lined up and is waaaaaay easier. I did this on the second axle, and cut about 90 min of cussing, swearing, and sweating out of the job.
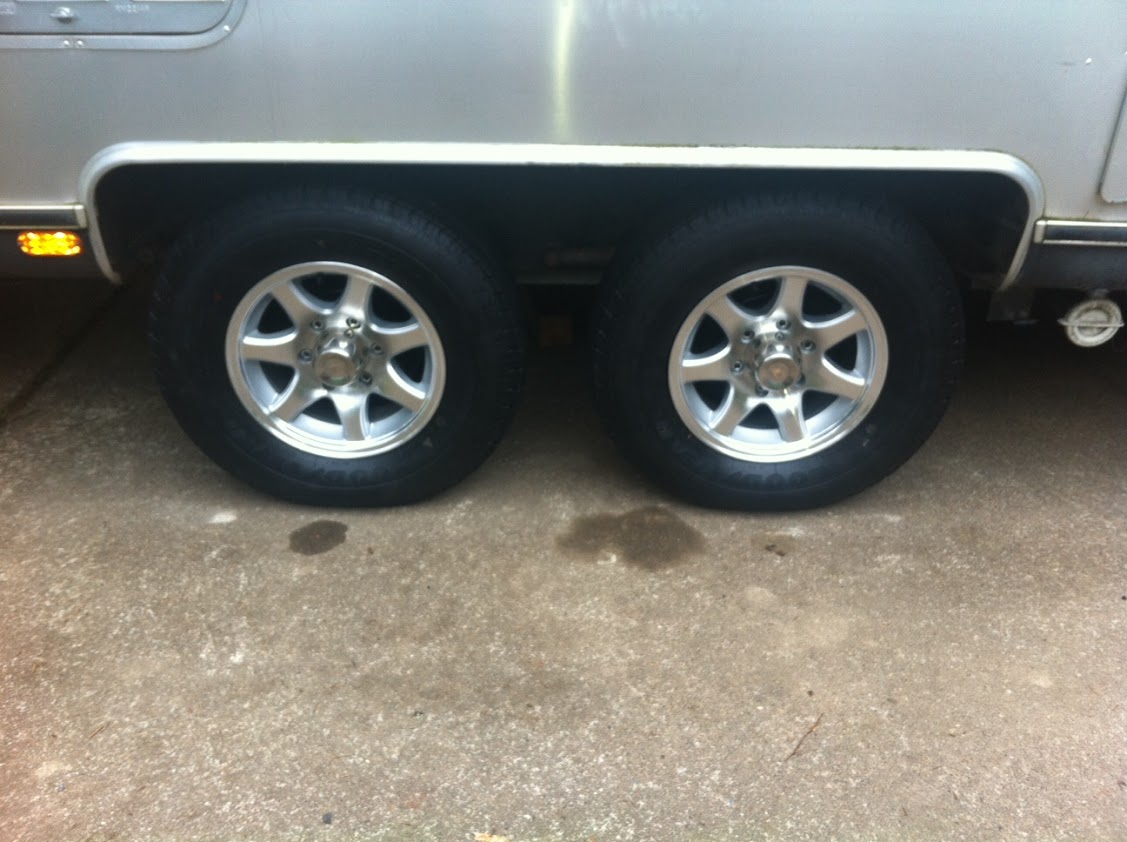
End result? Looks awesome, and surely won't drag going to the beach property. Also, now I can move it over to the gravel RV spot at my house. It's not totally even ground getting in there, and I couldn't get close bringing the coach home last week.
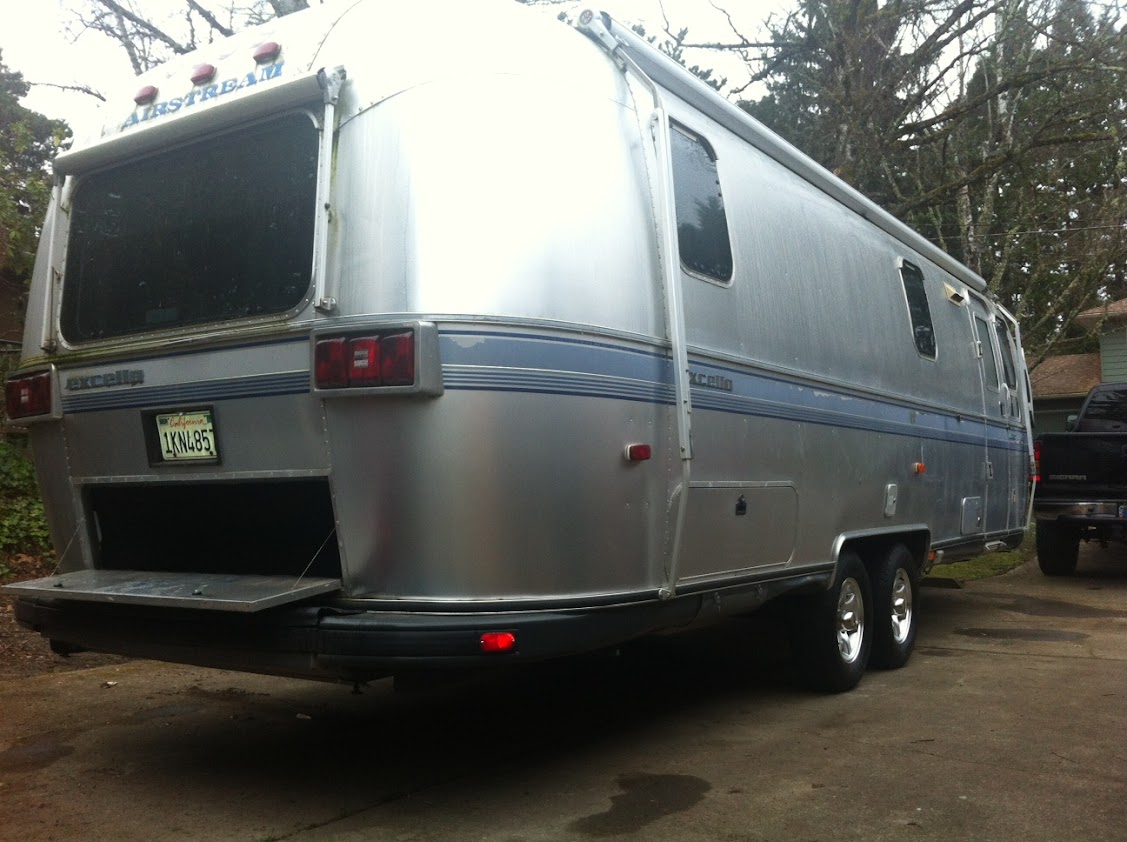
Before:

After:
The answer to 99% of the questions about getting more ride height is "buy new axles". Dexter won't rebuild them (wisely) and there's a 200% mark-up by the time they get to retail. This would be a $1600 proposition (that's doing it yourself) and then discard perfectly good axles.
Mine are 17yrs old, and have about 80% of life left in them. They're supposed to drop 2.34 inches from full load to in the air according to the Dexter website. And mine drop about 1.88" in the air. Not quite at replacement, and not worth throwing away.
After looking under the coach for a long time, I decided that square (rectangular) metal tubing would work great as blocks between the axle mounts and the frame of the airstream.
I needed 4 blocks, 11" long and 4x2. I decided to over do it with 1/4" wall tubing, but I think it's the perfect thickness. All the metal around the axles is 1/8th and 3/16ths.
I spent $26 on a 4 foot length of 4 x 2 x .25 and $36 on 5/8ths Grade 8 bolts/nuts/washers. About $60 total, and 8hrs of my time- in the middle of the night alone.
I thought I was thinking ahead by welding in some captive nuts to the inside of the block. Because once these are in place, there's no way to get a wrench on the inside of the frame. What I didn't plan for is that now I can't get the bolts into the bottom holes to go to the axles.
Do Over.
Then I realized that torquing these 5/8ths Grade 8 fine thread bolts to 150 ft/lbs is hard to do when you can't get a wrench on the bolt inside the tube.
I ended up welding the bolts down to the axle, and the nuts going to the frame before I tried to assemble it.
This picture is hard to see what's going on, but it was a pain to get everything aligned, and mating up. Plus the axles are kind of heavy. You really need a friend or 3 floor jacks to do it right.
TIP if you're going to do this: Only undo one side of the axle at a time. This keeps it lined up and is waaaaaay easier. I did this on the second axle, and cut about 90 min of cussing, swearing, and sweating out of the job.
End result? Looks awesome, and surely won't drag going to the beach property. Also, now I can move it over to the gravel RV spot at my house. It's not totally even ground getting in there, and I couldn't get close bringing the coach home last week.
Before:
After:
Total Comments 1
Comments
-
 Can you tell me what is the bolt holes spacing are ?
I am planning to do the same thing.
Thanks
DavePosted 02-12-2015 at 06:02 PM by Dave.K 

