Finally finished the axle install on my '73 Overlander. This is one job I am glad to say is over, at least for the most part. I still need to wire the brakes back up and reinstall the belly pan, but its all tightened up and the wheels are back on and I'm happy. Overall, I would say it raised the trailer up a good 4+ inches which is fine by me, I'm all for some extra ground clearance. So here are the details for those folks who will probably have to deal with some of the same issues.
The original axles were 2800 lb and these new ones are Dexter 3500 lb. I thought they would be "plug and play" or essentially a no mod, bolt in installation but that was not to be. These axles are different in both the tube size (2.75" original, 3" new) and the bolt hole spacing is different too. The key is that the rear hole is the index and you do not modify that or the closest edge of the cutout in the frame. You have to cut the frame by enlarging the cutout about 3/8" on the front edge and open up the front hole about 1/2" in order for the axle to mount and both bolts to go through. A bosch bimetal blade in my little cordless jig saw went through the steel like butter. I did try and radius the corner of the new opening to reduce stress.
Axle Data Sheet:

In order to make the job a bit easier, I made a couple of masonite templates, one for the old layout and one for the new. It is easy to get screwed up on layout of these axles, so anything you do to keep yourself straight helps.
Templates for new cutout (square is new, rounded is old)

I also fabricated a couple of templates to help center the drill as I opened up the front holes, one for each side. Lucky for me I had a 5/8" bit in my arsenal and a drill doctor to sharpen it up. I even pulled out my old heavy duty drill that hasn't seen the light of day in a good ten years, and it did very well, till the bit stuck and it nearly wrenched my arm out of my shoulder. Off center drilling is not fun. And I should have used something better than the pine for templates, it didn't last but one hole.
Hole Template, one for each side:

Maneuvering the axles can be done by one person, two is better. You need two jacks to get the axles up into position, and the jack needs to be behind the axle tube by about 3 inches in order for it to stay balanced. I moved from side to side jacking up each end by about an inch or two till I got it into position. The first axle took a couple of tries as I modified the opening a bit when it wouldn't go all the way up. All told it took about 3+ hours to get the rear axle mounted and then about 1.5 hours to do the front/second axle.


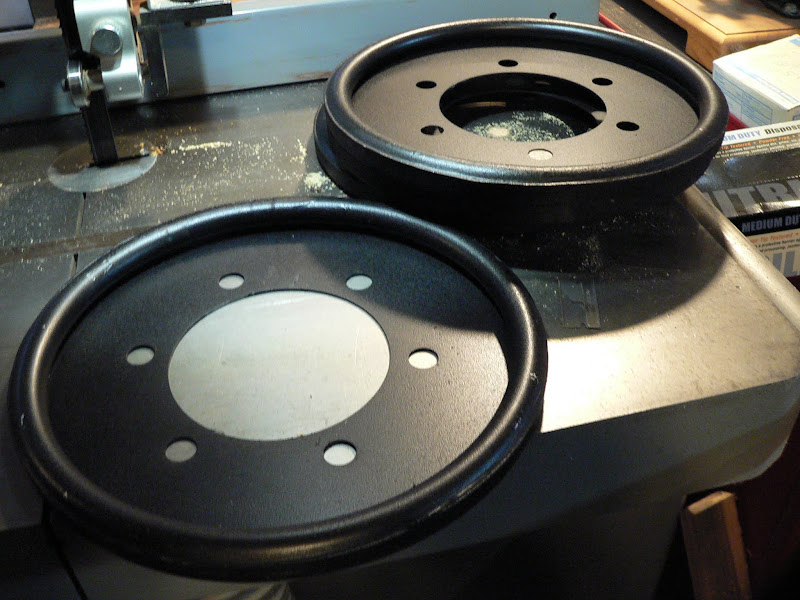
Today I got the wheels back on. The trailer had to be jacked up considerably higher in order to mount the wheels. I also installed 4 centramatic balancers which sit between the drum face and the rim. The axles came with new hardware for mounting to the frame and new lug nuts. I used anti-sieze on all of the lugs. The shocks did not come with any hardware, so I went and bought new at the local store.
Centramatic Balancers
 New height:
 Old height:

And speaking of the shocks, that was also something I would rather not repeat. I finally found a welder to weld the new mounts on (the mounts came loose, another surprise) and he charged me 100 bucks. I had him look at the old axles and I thought everything was hunky-dory and he welded them in place. Top noticed the pix of the newly welded axles and sent me a PM letting me know that they were on backwards. Sure enough they were. So I got a hold of the welder and he agreed to come back and cut and reweld the brackets on the right way. The first time he was done in less than an hour, this time it took him about an hour and a half, for about half of the first fee I paid him. But in the end, they were fine and I was able to mount the shocks. The alignment of the shocks is a bit offset, which may be due to the spacing of the new axles, but the rubber in the mounts will compensate for it.
Backwards Brackets:

So the bottom line to anybody replacing axles from this point on is that you probably will have to do some sort of modification on the frame to mount any new axle. Henschen is not making the axles anymore and at this stage of the game, I would tell anybody to shop your on your own for new ones. If you can get them with the brackets mounted, all the better.


 Linear Mode


