|
|
 03-18-2018, 07:09 AM
|
#121
|
|
Site Team

2007 30' Classic S/O
Somewhere
, South Carolina
Join Date: Apr 2010
Posts: 6,436
|
Wayne,
Sorry dont own a MH but just wishing you a speedy recovery.
Gary
__________________
S/OS #001 2005 Dodge Ram 2500 5.9L 6 Speed
16" Michelins, Hi Spec Wheels, Max Brake, Dexter 4 Piston Disc Brakes, Carslile Actuator, Equal-I-Zer, Dill TPMS. Campfire cook. BMV-712. DEMCO 21K Lb Cast Iron coupler
|

|

|


|
03-21-2018, 02:48 PM
|
#122
|
Rivet Master 
1984 27' Airstream 270
Scotia
, New York
Join Date: Oct 2012
Posts: 1,082
|
Quote:
Originally Posted by GCinSC2

Wayne,
Sorry dont own a MH but just wishing you a speedy recovery.
Gary
|
Thanks, I hate not being able to work on the MH
I just pulled the epoxy off of my original module and I found similar problems, riveted wire lugs with poor solder joints and several component leads that had poor solder joints.
I soldered them up and it seems to be functional.
The new boards should not have these problems, but I am not making any 30 year guarantees!
|
|
|
|
|
03-22-2018, 09:33 AM
|
#123
|
Rivet Master
1974 20' Argosy 20
Richmond
, Kentucky
Join Date: Jan 2003
Posts: 9,116
|
Quote:
Originally Posted by WayneG
....The new boards should not have these problems, but I am not making any 30 year guarantees!
|
Hmm, a lack of at least a 30 year guarantee could be a show stopper....NOT 
Glad you're hanging in there Wayne.
Brad
__________________
Air forums # 1674
1974 20' Argosy Motor Home
1975 24' Argosy Motor Home
1974 31' Excella trailer (parting out, as of 4/1/2015 I have wheels & windows left to sell)
|
|
|
|
|
03-24-2018, 09:30 AM
|
#124
|
Rivet Master
1984 27' Airstream 270
Scotia
, New York
Join Date: Oct 2012
Posts: 1,082
|
Quote:
Originally Posted by bkahler
Hmm, a lack of at least a 30 year guarantee could be a show stopper....NOT
Brad |
I wonder when Airstream will have a 30 Year guarantee ?
I wont hold my breath
Anyway, the next 3 PCB boards should be here soon from Osh Park and I will start building them when they get in.
I also have the lame beginnings of the official website for the modules here:
http://theouterlimits.ws/FluidSensorModule.html
At the moment the page is only bits and pieces of old pages lumped together.
There are the latest schematic files, component layout and a link to the circuit board design files folder toward the end of the page.

If anyone wanted to make their own boards all you need is the .pcb file from that folder and use https://oshpark.com/ to make the current version.
|
|
|
|
|
03-28-2018, 12:05 PM
|
#125
|
2 Rivet Member 
1987 31' Excella
1986 34.5' Airstream 345
Wake Forest
, North Carolina
Join Date: May 2013
Posts: 27
|
Wayne,
Hope you are feeling better.
Im getting ready to replace my radio in the dash of my 86 345.
Would you be willing to give me some tips on dash removal?
Drop me an email at ww4nc@arrl.net if you wouldnt mind talking with me about it at your convenience
Thanks
Dick
|
|
|
|
|
03-28-2018, 12:29 PM
|
#126
|
Rivet Master
1984 27' Airstream 270
Scotia
, New York
Join Date: Oct 2012
Posts: 1,082
|
Quote:
Originally Posted by ww4nc
Wayne,
Hope you are feeling better.
Im getting ready to replace my radio in the dash of my 86 345.
Would you be willing to give me some tips on dash removal?
Drop me an email at ww4nc@arrl.net if you wouldnt mind talking with me about it at your convenience
Thanks
Dick |
I am somewhat better but dealing with some side effect complications at the moment, they should be survivable.
For dash removal I started sketching together a web page for dash removal. It is no where near done and I have not even read through all I put in it to verify its accuracy.
If you are interested it can be found here:
http://theouterlimits.ws/projects/ai...d_Removal.html
Before you start pulling the dash, if you have the OEM radio, I think you can pull it without removing the dash?
If you are modifying for a din slot radio, then you will want to pull it to do the cutting.
I pulled my Radio and installed a flip screen unit from Pyle, but I dont recommend it, it is Chinese Pyle of Chit! The DVD player died and the GPS is junk
Mostly I just use the pop up screen for my rear view cameras. I also installed my unit with a slight tilt toward the driver for better screen viewing

|
|
|
|
|
03-29-2018, 04:46 AM
|
#127
|
Rivet Master
1974 20' Argosy 20
Richmond
, Kentucky
Join Date: Jan 2003
Posts: 9,116
|
To add to the information Wayne provided there are two things I found that will cause major headaches while working on the instrument panel.
The speedometer cable is not very forgiving and is a fixed length. If you pull hard enough on the instrument panel you can break the speedometer away from the panel which will cause it to just kinda hang there.
The second is the cable from the heater/ac control to the valve in the heater hose that controls temperature of the coolant passing through the heater core. Again, if you pull hard enough you'll break the heater/ac control mechanism and it also will just kinda hang there behind the panel. The only fix is to find a replacement heater/ac control.
Brad
__________________
Air forums # 1674
1974 20' Argosy Motor Home
1975 24' Argosy Motor Home
1974 31' Excella trailer (parting out, as of 4/1/2015 I have wheels & windows left to sell)
|
|
|
|
|
03-29-2018, 07:04 AM
|
#128
|
Rivet Master
1984 27' Airstream 270
Scotia
, New York
Join Date: Oct 2012
Posts: 1,082
|
Quote:
Originally Posted by bkahler
To add to the information Wayne provided there are two things I found that will cause major headaches while working on the instrument panel.
The speedometer cable is not very forgiving and is a fixed length. If you pull hard enough on the instrument panel you can break the speedometer away from the panel which will cause it to just kinda hang there.
The second is the cable from the heater/ac control to the valve in the heater hose that controls temperature of the coolant passing through the heater core. Again, if you pull hard enough you'll break the heater/ac control mechanism and it also will just kinda hang there behind the panel. The only fix is to find a replacement heater/ac control.
Brad
|
Brad, Good followup!
For the heater control there are 2 nuts that hold it onto the dash. If you are a contortionist and dont have extra stuff under the dash you may be able to feel your way to remove the nuts and the entire control will be free except for the light that is on a 2 pin plug.
You may have better luck getting to the nuts from above.
Dont forget that what you unscrew, it is 10 times harder to put back on without a good view and thin agile finger tips!
The following photos are from my dash removal page:
http://theouterlimits.ws/projects/ai...d_Removal.html
Here is a view of the dash studs:

This is what the heater control looks like with the right mount tab broken off. Note that you dont even have to be rough removing the dash to break these tabs. It is a bad design and if your heat control leaver is tight, excessive force moving it can begin cracks to eventual failure.
Mine was broken even before removing the dash. I am going to try rubber grommets on the back of mine on this install to try and reduce cracks from flexing the unit.

I used some hex rod drilled and tapped for the dash studs to make access for removal and install easier:

For the speedo cable mine has a little stretch room to tilt the top of the dash out:

Yours may have a thread on connection or a clip on, mine has both:

The clip is a pain to release but it is better than trying to get to the nut behind it.
I hope this also helps 

|
|
|
|
|
03-29-2018, 01:50 PM
|
#129
|
Rivet Master
1984 27' Airstream 270
Scotia
, New York
Join Date: Oct 2012
Posts: 1,082
|
The new boards are being built, two at a time. I am still waiting on a few parts before I can start testing these two.

|
|
|
|
|
03-31-2018, 07:34 PM
|
#130
|
2 Rivet Member
1987 31' Excella
1986 34.5' Airstream 345
Wake Forest
, North Carolina
Join Date: May 2013
Posts: 27
|
Thanks guys, really helpful info and pictures. You guys rock!!
|
|
|
|
|
04-06-2018, 04:01 AM
|
#131
|
Rivet Master
1984 27' Airstream 270
Scotia
, New York
Join Date: Oct 2012
Posts: 1,082
|
April 6th and more winter on the way so I am stuck on the dash project for now. 
While they have me pumped up on steroids fighting yet another health anomaly, I find that I have the energy and ambition to start another project. 
I have pulled my Control Panel out, to figure out the circuitry and see what can be done to improve its functionality.

At minimum I would like to replace the #55 light bulbs with LEDs, so I ordered some for a test

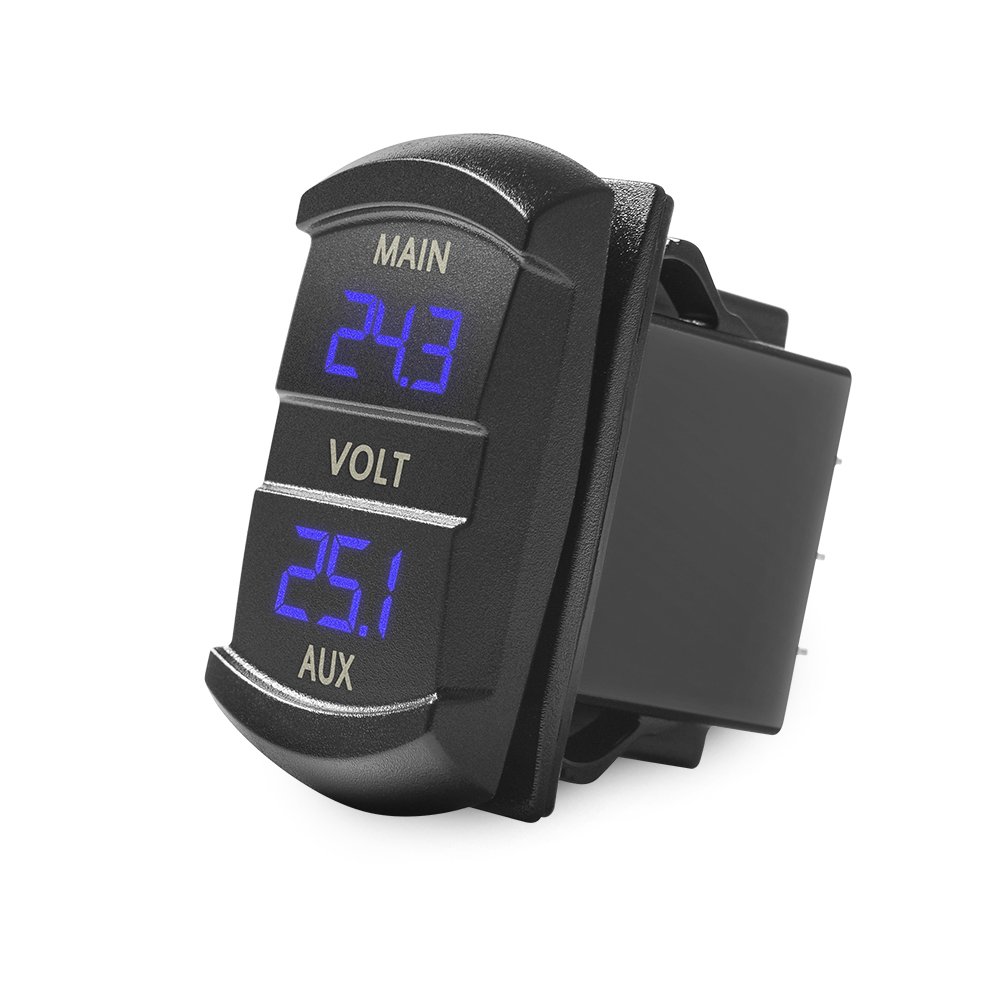
I am also considering replacing the 3 bulb Battery Condition Monitor with a mini volt meter, So I ordered a few of these:

If I can build a simple circuit board to replace the Level Monitor:
I would like to not change the look of the panel.
Besides a true volt meter to replace the 3 lights, I think the most useful feature would be a audio alarm that is activated when the Gray or Black water tanks hit full.
My panel has a blanked off switch near the other level switches. That could be made active as the alarm on/off.
The normal operation of checking levels will not change; Press a switch for the tank you want to see the level of, and the display will tell you E, 1/4, 1/2, 3/4, F.
Turning on the Alarm switch allows circuitry to scan the tanks, one at a time, and the alarm will sound on any tanks that a enable switch is set. The alarm enable switches can be mounted out of site on the rear of the control panel. A switch could be provided for all 4 level sensors including Fresh water and LP.
That is just my Friday morning ramblings.
BTW, if you are curious on how the OEM boards are wired, you can find the drawings on my new page for this project:
http://theouterlimits.ws/projects/ai...trolPanel.html
|
|
|
|
|
04-13-2018, 06:47 AM
|
#132
|
Rivet Master
Churubusco
, Indiana
Join Date: Nov 2017
Posts: 2,007
|
Quote:
Originally Posted by WayneG
April 6th and more winter on the way so I am stuck on the dash project for now.
While they have me pumped up on steroids fighting yet another health anomaly, I find that I have the energy and ambition to start another project.
I have pulled my Control Panel out, to figure out the circuitry and see what can be done to improve its functionality.
At minimum I would like to replace the #55 light bulbs with LEDs, so I ordered some for a test
I am also considering replacing the 3 bulb Battery Condition Monitor with a mini volt meter, So I ordered a few of these:
If I can build a simple circuit board to replace the Level Monitor:
I would like to not change the look of the panel.
Besides a true volt meter to replace the 3 lights, I think the most useful feature would be a audio alarm that is activated when the Gray or Black water tanks hit full.
My panel has a blanked off switch near the other level switches. That could be made active as the alarm on/off.
The normal operation of checking levels will not change; Press a switch for the tank you want to see the level of, and the display will tell you E, 1/4, 1/2, 3/4, F.
Turning on the Alarm switch allows circuitry to scan the tanks, one at a time, and the alarm will sound on any tanks that a enable switch is set. The alarm enable switches can be mounted out of site on the rear of the control panel. A switch could be provided for all 4 level sensors including Fresh water and LP.
That is just my Friday morning ramblings.
BTW, if you are curious on how the OEM boards are wired, you can find the drawings on my new page for this project:
http://theouterlimits.ws/projects/ai...trolPanel.html |
This has my interest!
Interested to see how the mini-voltmeters fit. I was thinking I would just do accurate dash gauges for them.
Mine has a refrigerator alarm switch, this could become just alarm pretty easy. And depending on the checking circuitry, could be functional again. Knowing the fridge temp could be useful.
__________________
1983 Airstream 310 Class A Motorhome
-Rob
|
|
|
|
|
04-27-2018, 02:24 PM
|
#134
|
Rivet Master
1984 27' Airstream 270
Scotia
, New York
Join Date: Oct 2012
Posts: 1,082
|
I finally got a live test on the new module and it has not blown any fuses or burned the MH to the ground, so I guess it works  .
I only have a few miles on it while out for State inspection, and to test the coolant and washer fluid, I emptied the resivours and the appropriate lights came on. I have no easy way to test the water in fuel because I do not have a sender unit for that.
Since I have a full tank of gas, it will be a while before the low fuel light will come on, but I did test that feature on the bench.
My additional circuitry for lights on, step down and door open all work as designed and the chime sounds when one of them is activated.
For now I have the module hanging out from under the dash to watch the LED's and so I can test the other modules I am building. I have 5 more almost ready for testing and shipping. 2 with the extra circuitry and 3 without.

If the picture looks strange, it is because there is no door panel on the wall because I am working on the antenna replacement.
__________________
Do not take life too seriously.
You will never get out of it alive.
|
|
|
|
|
04-28-2018, 03:04 AM
|
#135
|
Rivet Master
1984 34.5' Airstream 345
Foothill Ranch
, California
Join Date: Mar 2010
Posts: 4,695
|
Count me in for the upgraded unit! I owe you a twenty already, so pm me the total!
We are in Italy until Monday, so no rush!
__________________
My name is Steve.... and I am an Alumaholic!
Working in my Garage is like playing TETRIS with Tools!
|
|
|
|
|
04-28-2018, 07:27 AM
|
#136
|
Rivet Master
Churubusco
, Indiana
Join Date: Nov 2017
Posts: 2,007
|
Looks awesome, very professional, great work!!
__________________
1983 Airstream 310 Class A Motorhome
-Rob
|
|
|
|
|
07-01-2018, 08:51 PM
|
#137
|
2 Rivet Member
1987 31' Excella
1986 34.5' Airstream 345
Wake Forest
, North Carolina
Join Date: May 2013
Posts: 27
|
Wayne
I have my dash out for some work
Could use the new module if any are available
Sent me an email at ww4nc@arrl.net with details and i will either send u a check or paypal, which ever you prefer
Thanks
Dick
|
|
|
|
|
07-02-2018, 01:51 AM
|
#138
|
Rivet Master
1984 27' Airstream 270
Scotia
, New York
Join Date: Oct 2012
Posts: 1,082
|
Quote:
Originally Posted by ww4nc
Wayne
I have my dash out for some work
Could use the new module if any are available
Sent me an email at ww4nc@arrl.net with details and i will either send u a check or paypal, which ever you prefer
Thanks
Dick |
At the moment I have a version one available. It does not have the warning chime for lights on, door open or steps not up. I have one blank board left to make a V2, that will take more time to build.
I still need to build the wiring harness for both of them, but that just takes a day or two.
The V2 is $100 and I need to subtract the parts cost to get a price on V1's
__________________
Do not take life too seriously.
You will never get out of it alive.
|
|
|
|
|
07-03-2018, 08:39 AM
|
#139
|
2 Rivet Member
1987 31' Excella
1986 34.5' Airstream 345
Wake Forest
, North Carolina
Join Date: May 2013
Posts: 27
|
Wayne,
I am good with the version one unit. Go ahead and let me know the cost with shipping, and your address and then I can sent you payment. My email is ww4nc@arrl.net
Thanks for all the hard work on this!!
Dick
|
|
|
|
|
07-03-2018, 10:26 AM
|
#140
|
Rivet Master
1984 27' Airstream 270
Scotia
, New York
Join Date: Oct 2012
Posts: 1,082
|
Quote:
Originally Posted by ww4nc
Wayne,
I am good with the version one unit. Go ahead and let me know the cost with shipping, and your address and then I can sent you payment. My email is ww4nc@arrl.net
Thanks for all the hard work on this!!
Dick |
Adding the numbers, it looks like the V1 version will be $20 less so, $80 is the US price with shipping included.
Due to good weather and fairly good health, I had been slacking on the builds.
Since the weather this week is to darn hot to do much outside, I am getting my butt back in gear on this project, basement workshop is nice & cool  .
I have three V1 boards, one is built, I have the parts for the other two.
I have three V2 boards, two are built and I have the parts for the third.
As of now, all 3 V2 boards are spoken for, and you have the first V1 board reserved.
If there are more folks wanting the V2, let me know and I will order three more boards, it takes 3-4 weeks to get them built.
Beyond the boards, I am also building the 10 pin and 6 pin connectors that go with the boards. I am providing about 24 inches of wire to give you plenty to splice with.
Since I am not doing any July road trips, I will only be able to bench test and calibrate the boards, that will get you all going.
One feature I cant test is the water in fuel indicator circuit. Since I dont have a diesel, I dont have the sender for that.
__________________
Do not take life too seriously.
You will never get out of it alive.
|
|
|
|
|
|
|
Currently Active Users Viewing This Thread: 1 (0 members and 1 guests)
|
|
|
| Thread Tools |
Search this Thread |
|
|
|
| Display Modes |
 Linear Mode Linear Mode
|
 Posting Rules
|
You may not post new threads
You may not post replies
You may not post attachments
You may not edit your posts
HTML code is Off
|
|
|
|

 Recent Discussions
 |
|
|
|
|
|
|
|
|
|
|
|
|
|
|
|
|
|
|
|
|
|