OK guys, today I completed the mechanical portion of my overhaul of the TAG axle brakes and they NEEDED IT!!!
I replaced the existing brakes with new Dexter complete brake assemblies. The assemblies cost much less then buying the parts individually and were easier to install as well. The total cost for the brake job was $142.68 and that included new brake assemblies (both L and R side), new grease seals, brake cleaner and grease. Here's a pictorial of what I did:
First the parts:
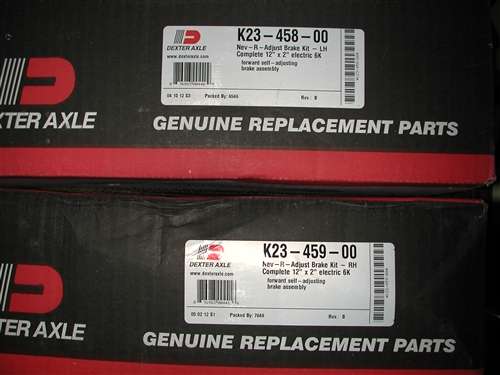
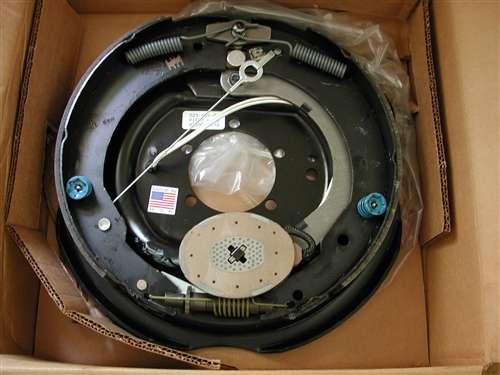
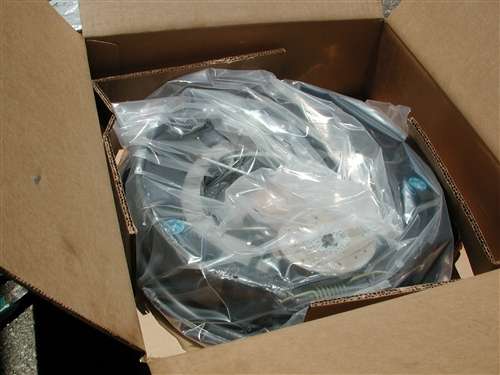
The Brake assemblies for the left and right side.
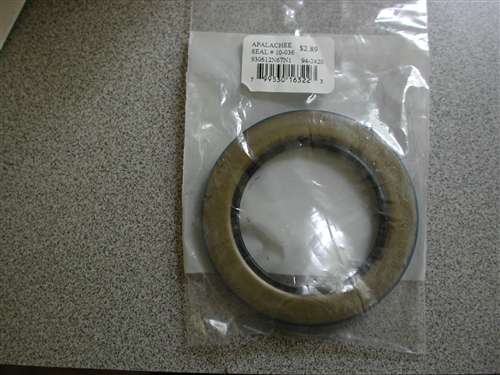
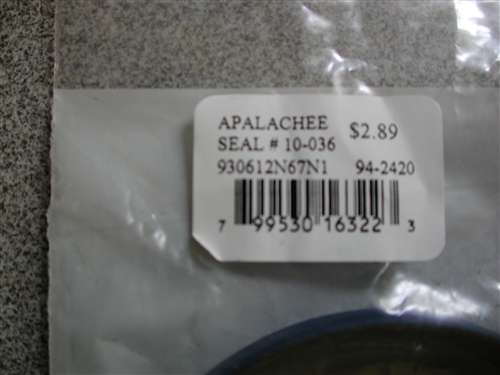
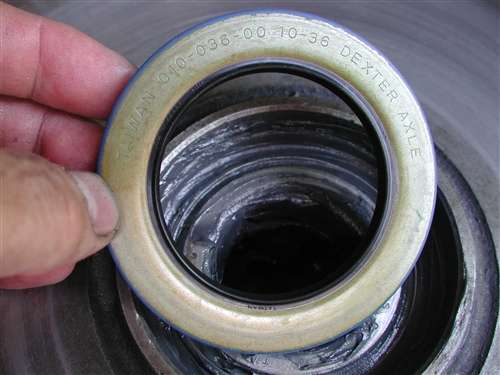
The grease seals purchased locally:
I used Valvoline Synthetic multipurpose grease
Here's how I did it:
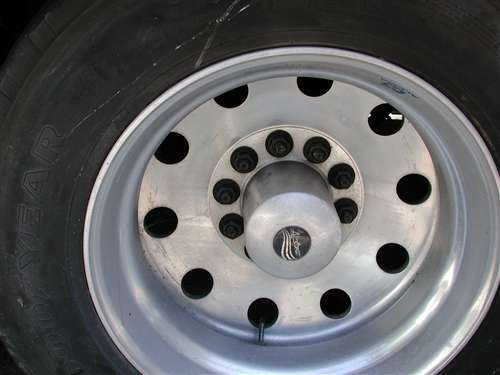
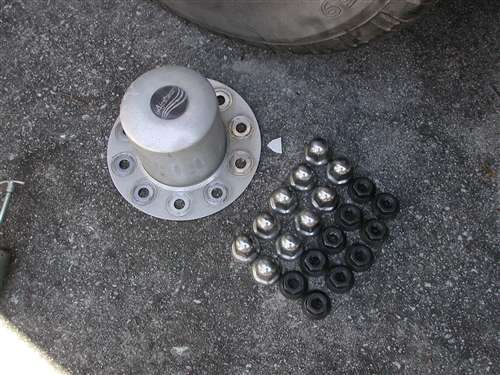
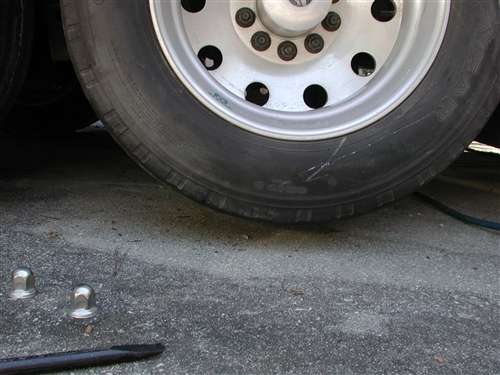
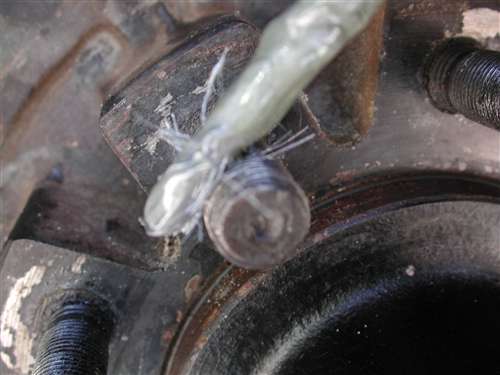
Start by removing the cosmetic covers on the lug nuts and then the lug nuts.
I used the leveling system to bring the TAG wheels off the ground.
With the wheels off, you can see the jack stand for safety purposes.

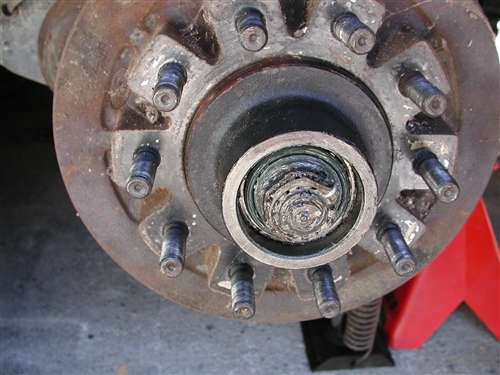
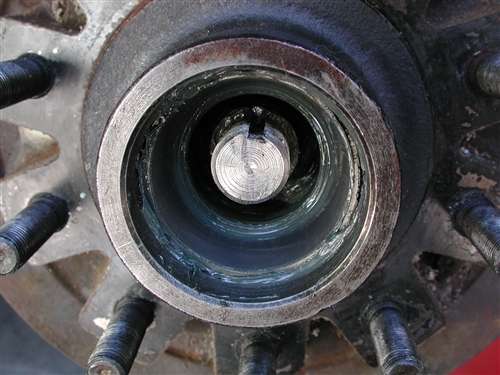
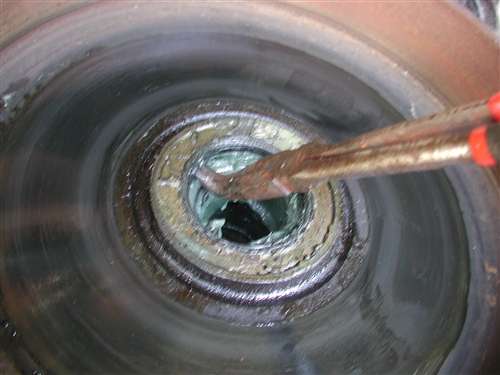
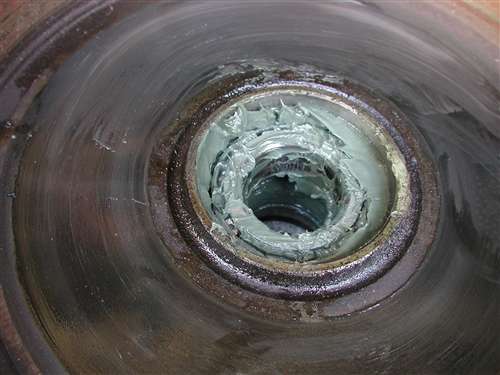
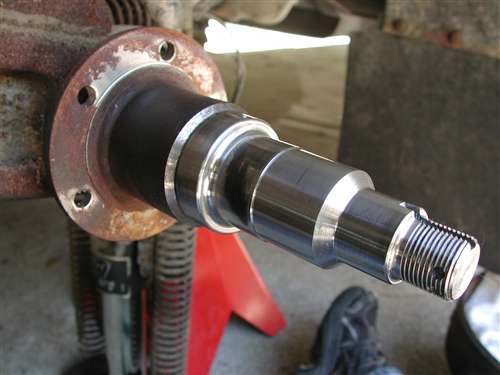
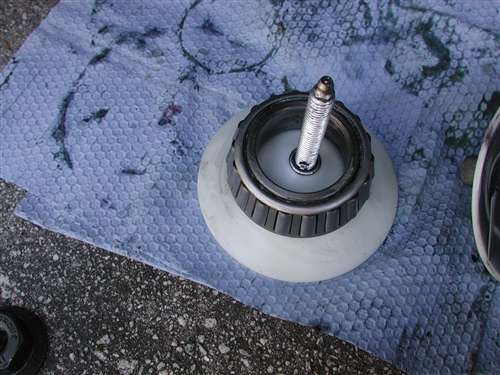
The next step is to remove the front grease cap. I used a wood block and hammer to rock the cap back and forth until it came off.
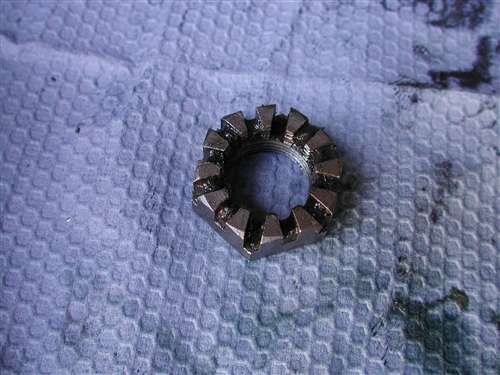
Once off you can see the castle nut and cotter pin that holds the brake drum on.
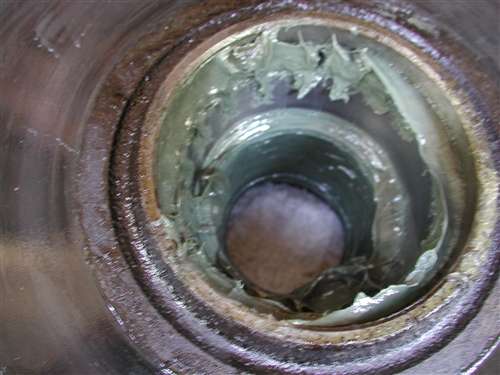
Straighten the pin out and it will slide out.

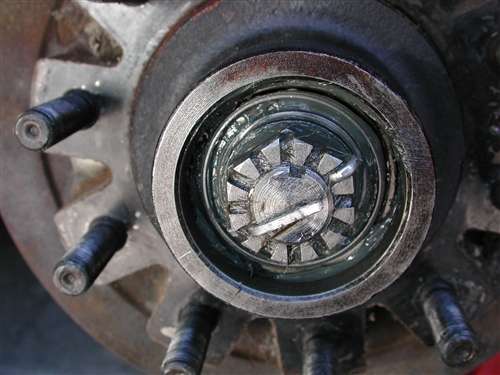
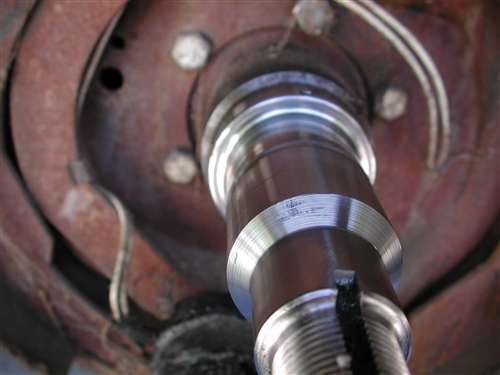
Once out, the castle nut will screw off by hand and you'll see the washer behind it.

Once the washer is out the outer bearing will come right out.
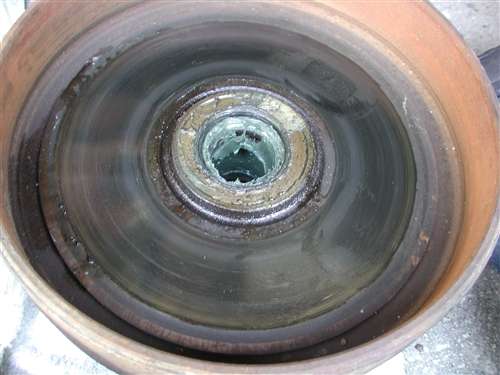
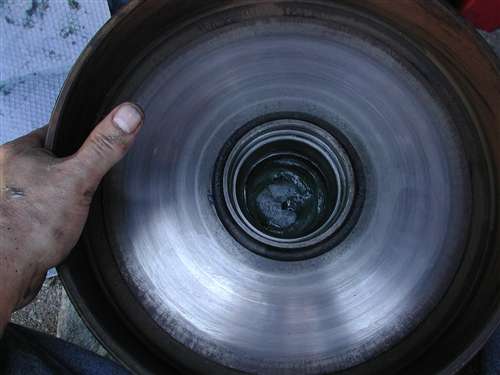
Once the outer bearing is out the entire brake hub/drum will just slide off the axle.
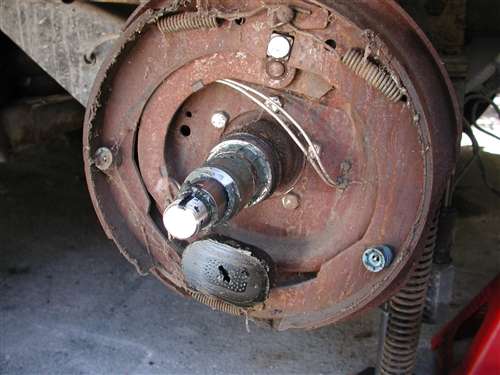
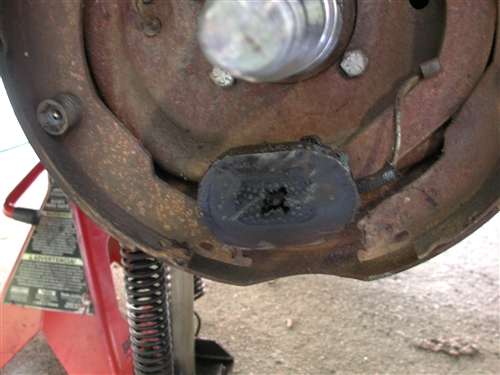
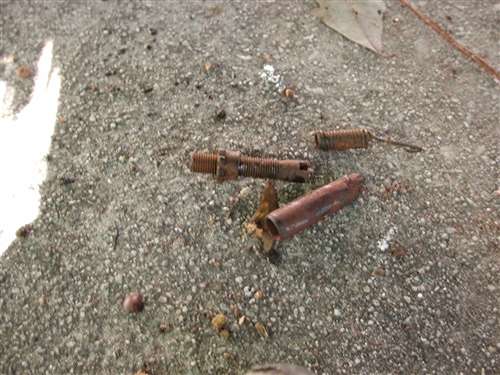
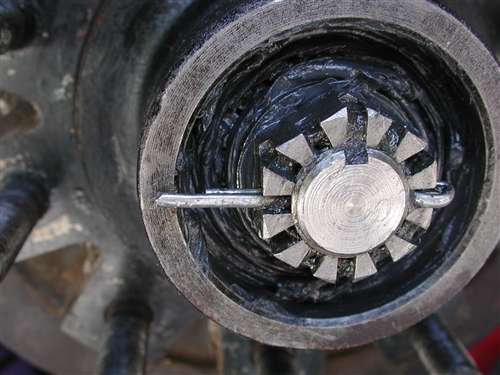
Here's what I found on both sides. It looks like the inner grease seal had failed on both sides. This left a grease film on the magnet and drum surface. The curb side's adjuster assembly was completely shot and the spring was rusted in two.
Now I removed the inner grease seal by prying it out gently. Be careful to not damage the inner bearing.
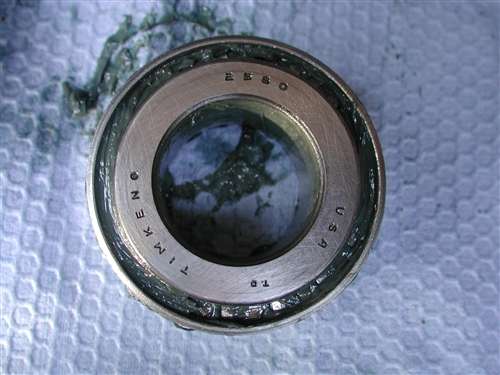
Once removed you can see the inner bearing.
Now you can remove the inner bearing.
Then clean the brake drum and axle spindle.
\
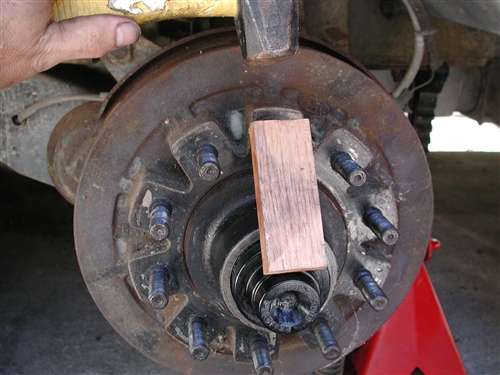
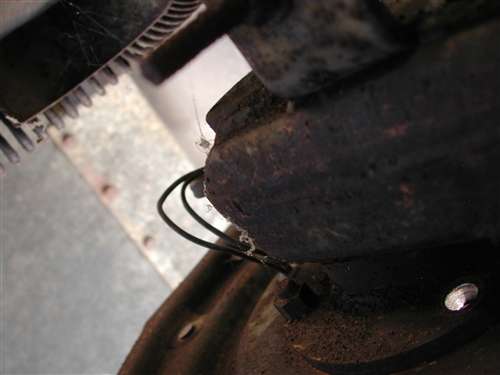
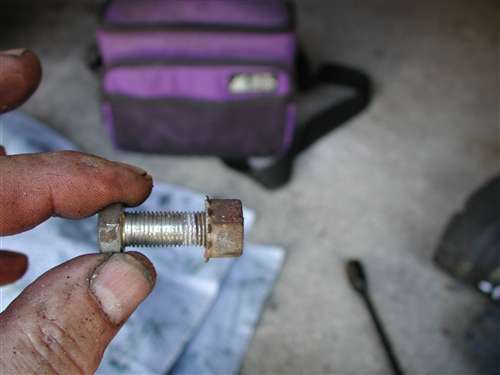
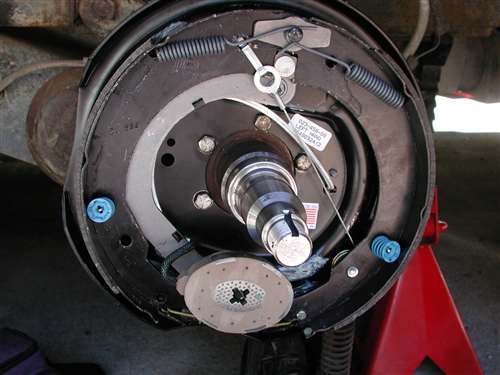
Nest step is to remove the 5 bolts that hold the brake assembly onto the axle. Note the 5 bolts above. Below you can see the back side of the plate showing one of the nuts. They're 9/16" on both sides. You can now also cut the wires going to the magnet after the wire nuts.
Once all 5 bolts are removed the brake assembly will just come off.
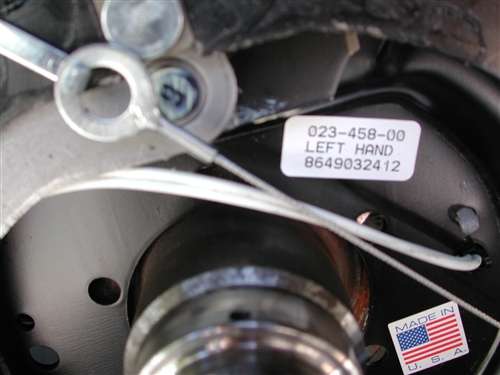
Now you simply reverse the order. Unpack the new brake assembly and note that there is a right and left side assembly. The assemblies are clearly marked as are the boxes.
Replace the 5 bolts and torque to about 45 ft/lbs.
Clean, inspect and repack the inner bearing either by hand or using a packing tool. I washed with fresh gasoline to clean the bearings and then brake cleaner to do the final cleaning.
Once the bearing is greased and the inner hub is cleaned and greased you can insert the inner bearing and then the inner grease seal.
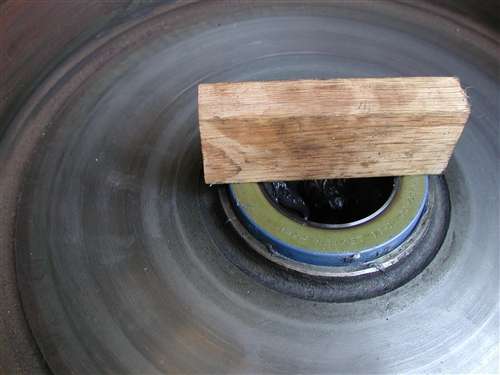
I used a piece of oak wood and hammer to seat the seal.
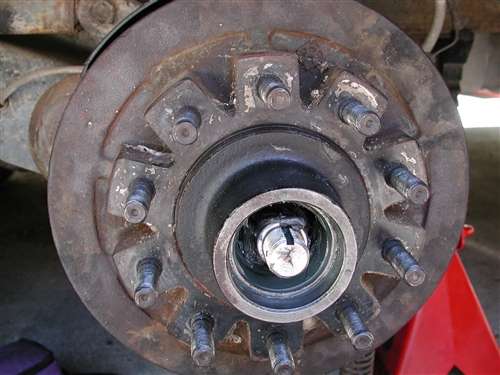
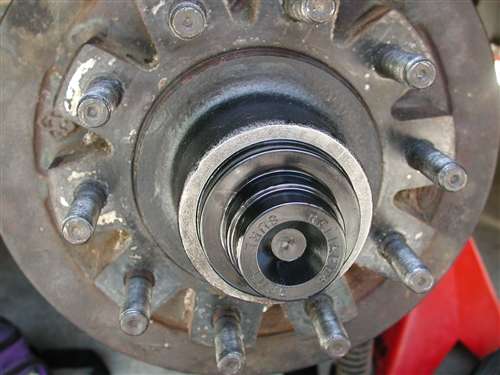
Once seated you can lightly lube the axle spindle and then slide the drum assembly on.
Pack the outer bearing and install it into the hub.

Replace the washer and then tighten the castle nut while rotating the brake drum. Once seated, use a 12" cresent wrench and turn until you feel it tighten. Back off the castle nut until one of the two available holes allows the cotter pin to go through.
Bend the pin ends back and then install the outer dust cap.
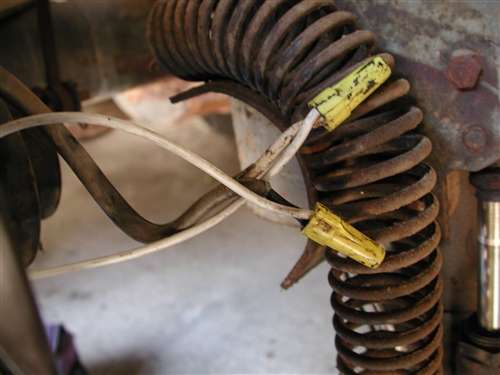
Remove the electrical tape and wire nuts and connect to the new magnet wires. You should secure the wires using the provided plastic clamp.
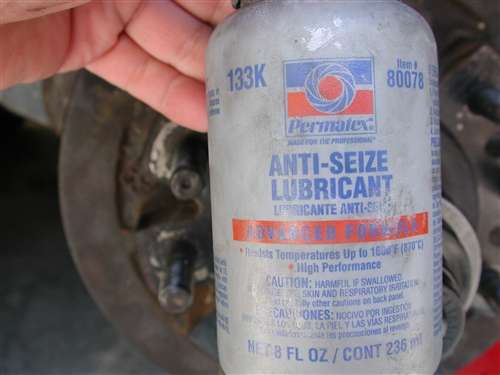
I use anti seize lubricant on the wheel studs. Just a dab on each stud will do it.
Install wheels as normal and away you go.
Hope this helps others in the future. Next installment is replacing the electric brake controller with a more updated unit.


 )
)

 Linear Mode


